Quickstart Guide
Get started with Alephant by registering your workspace, creating the agent identity and cost-control objects in the dashboard, then using the generated Virtual Key from your terminal or application.
1. Register for Alephant
Open the Alephant dashboard and create an account or sign in to your workspace.
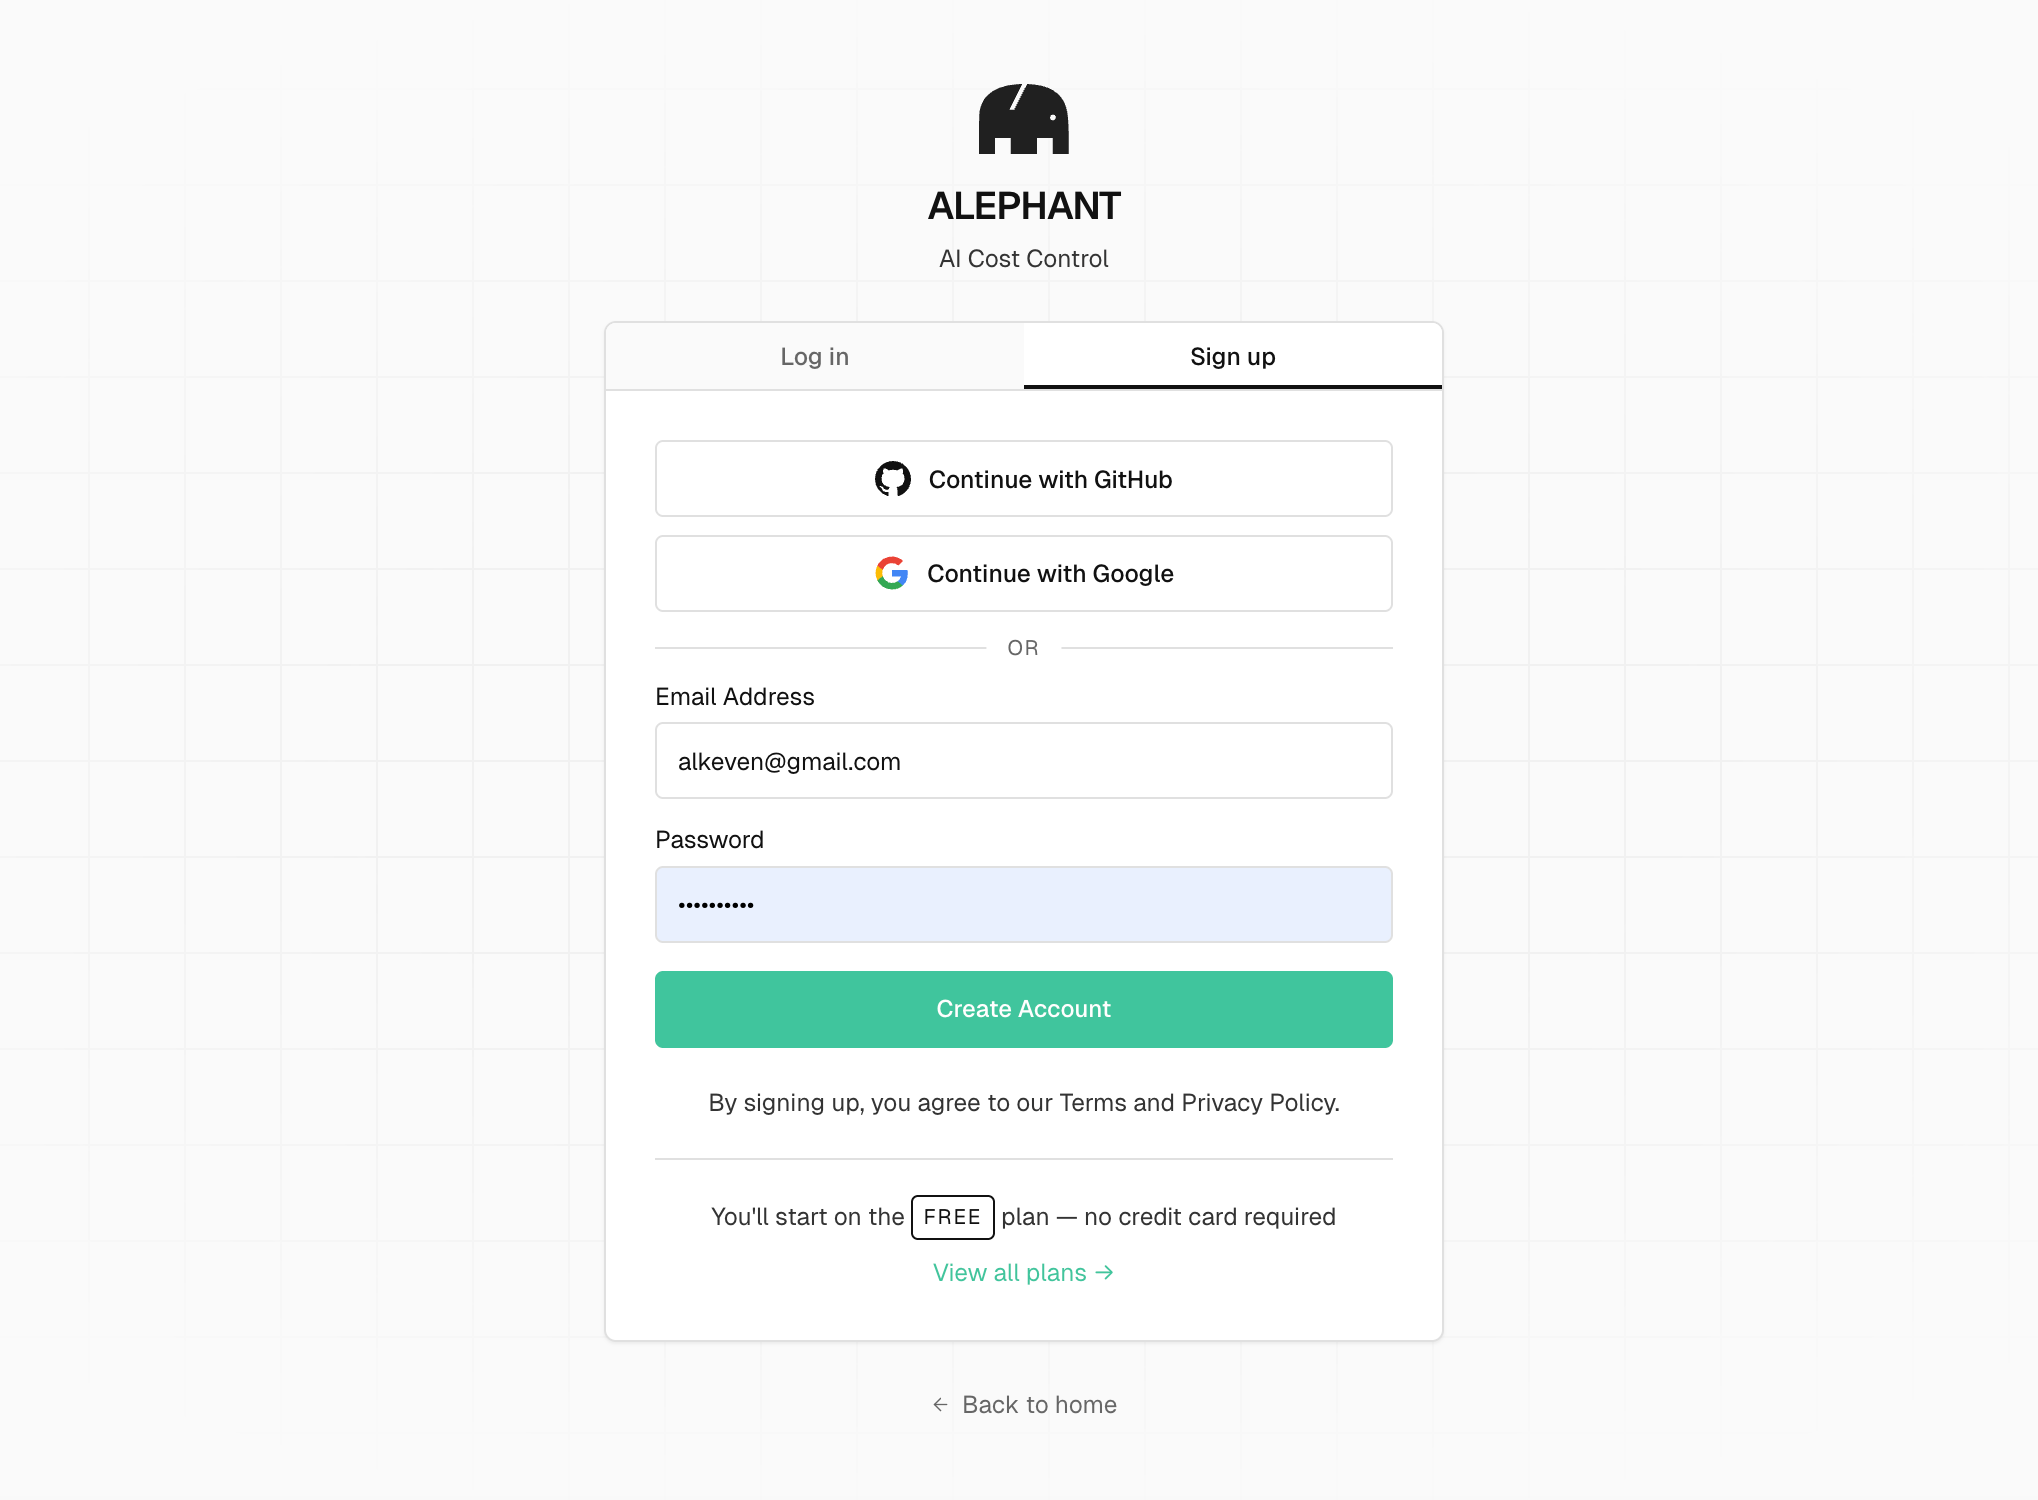
You can start on the Free plan without a credit card. After registration, continue to the workspace setup steps below.
2. Create a Department
In Enterprise workspaces, start by creating a department. Departments group members, agents, budgets, and usage attribution under one business unit.
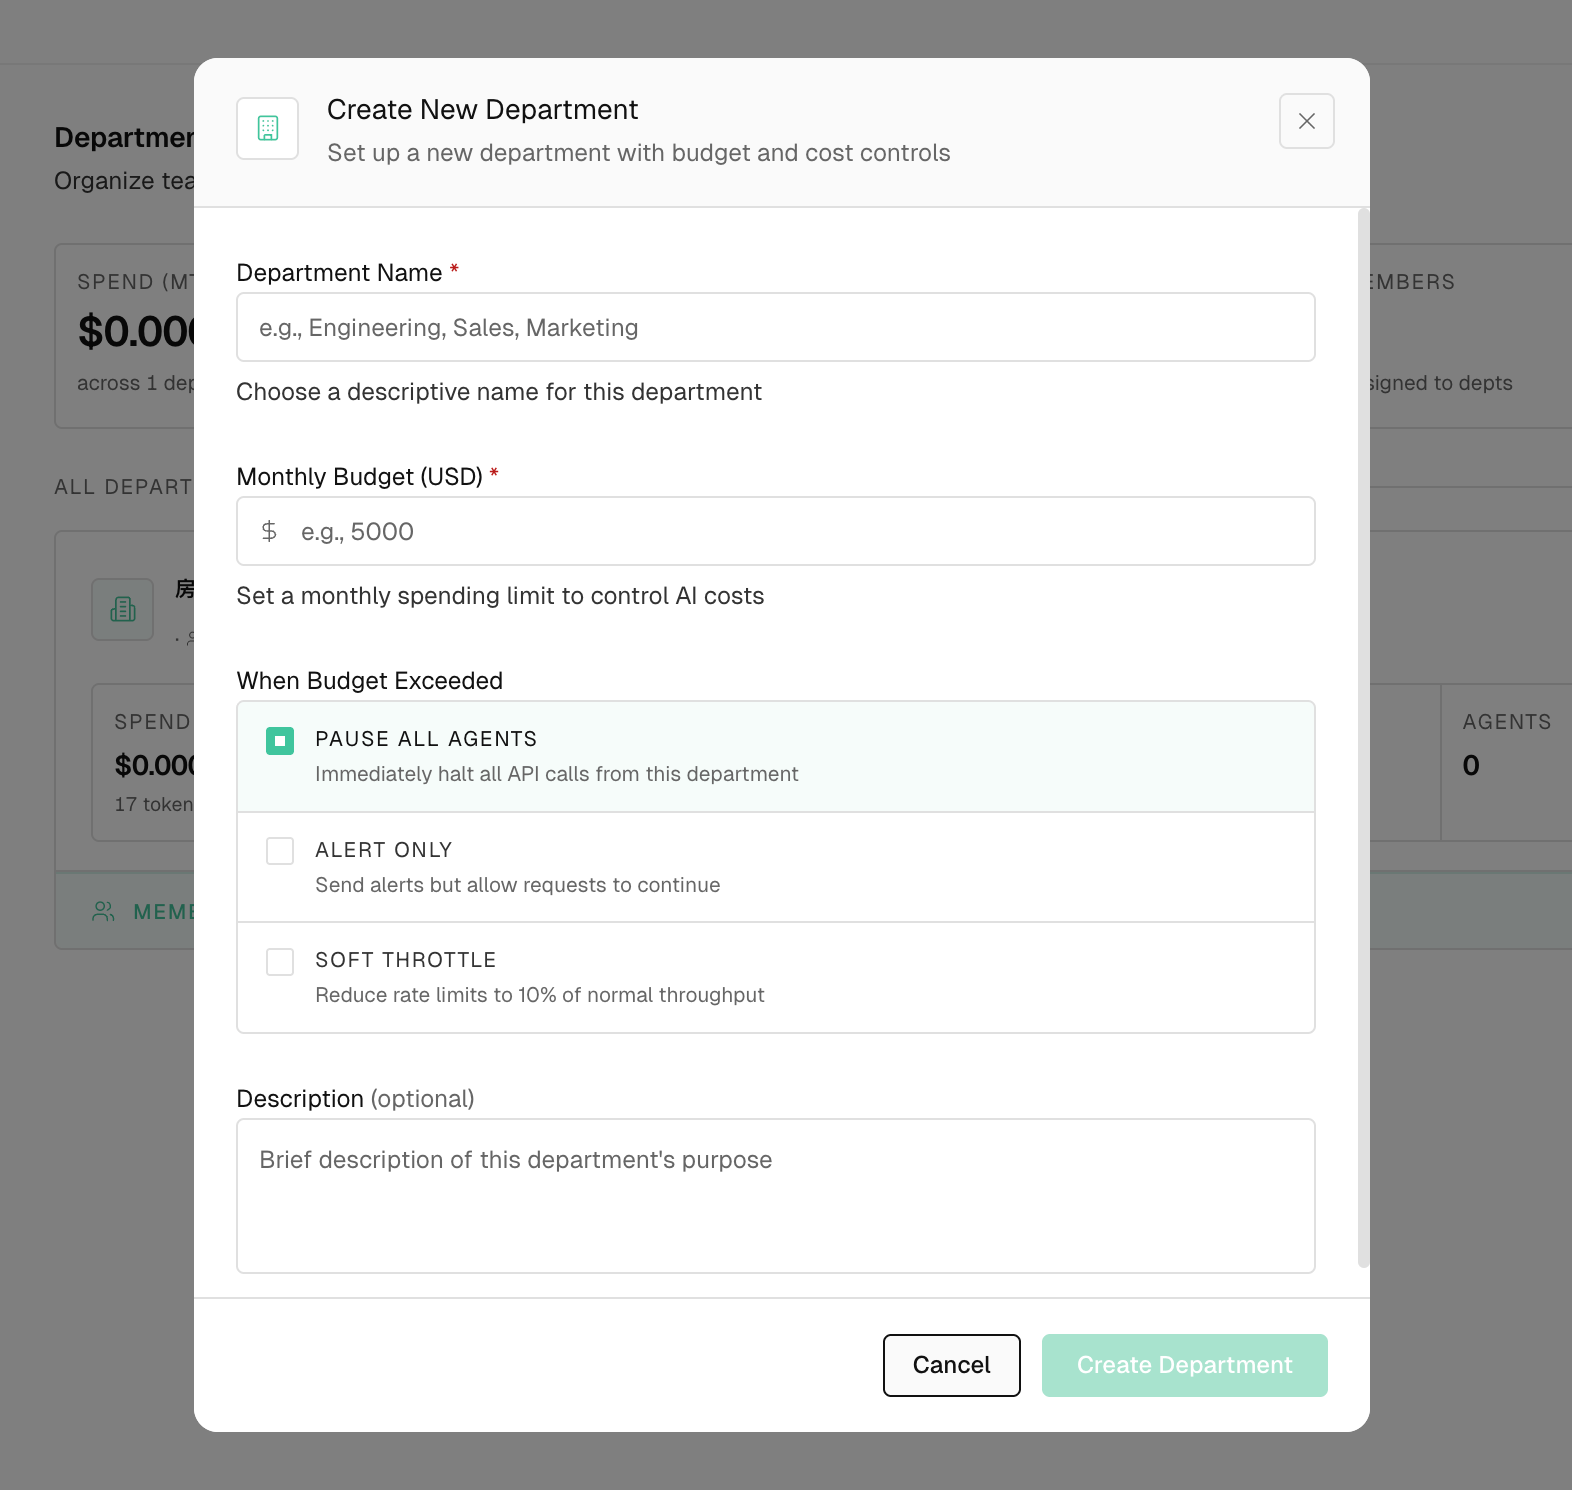
Set a descriptive department name, monthly budget, and budget-exceeded behavior. This gives every Agent created under the department a clear cost center.
3. Add an API Key
Add your upstream provider key as a Master Key. Alephant stores the provider credential securely and uses it only when routing requests for your Agents.
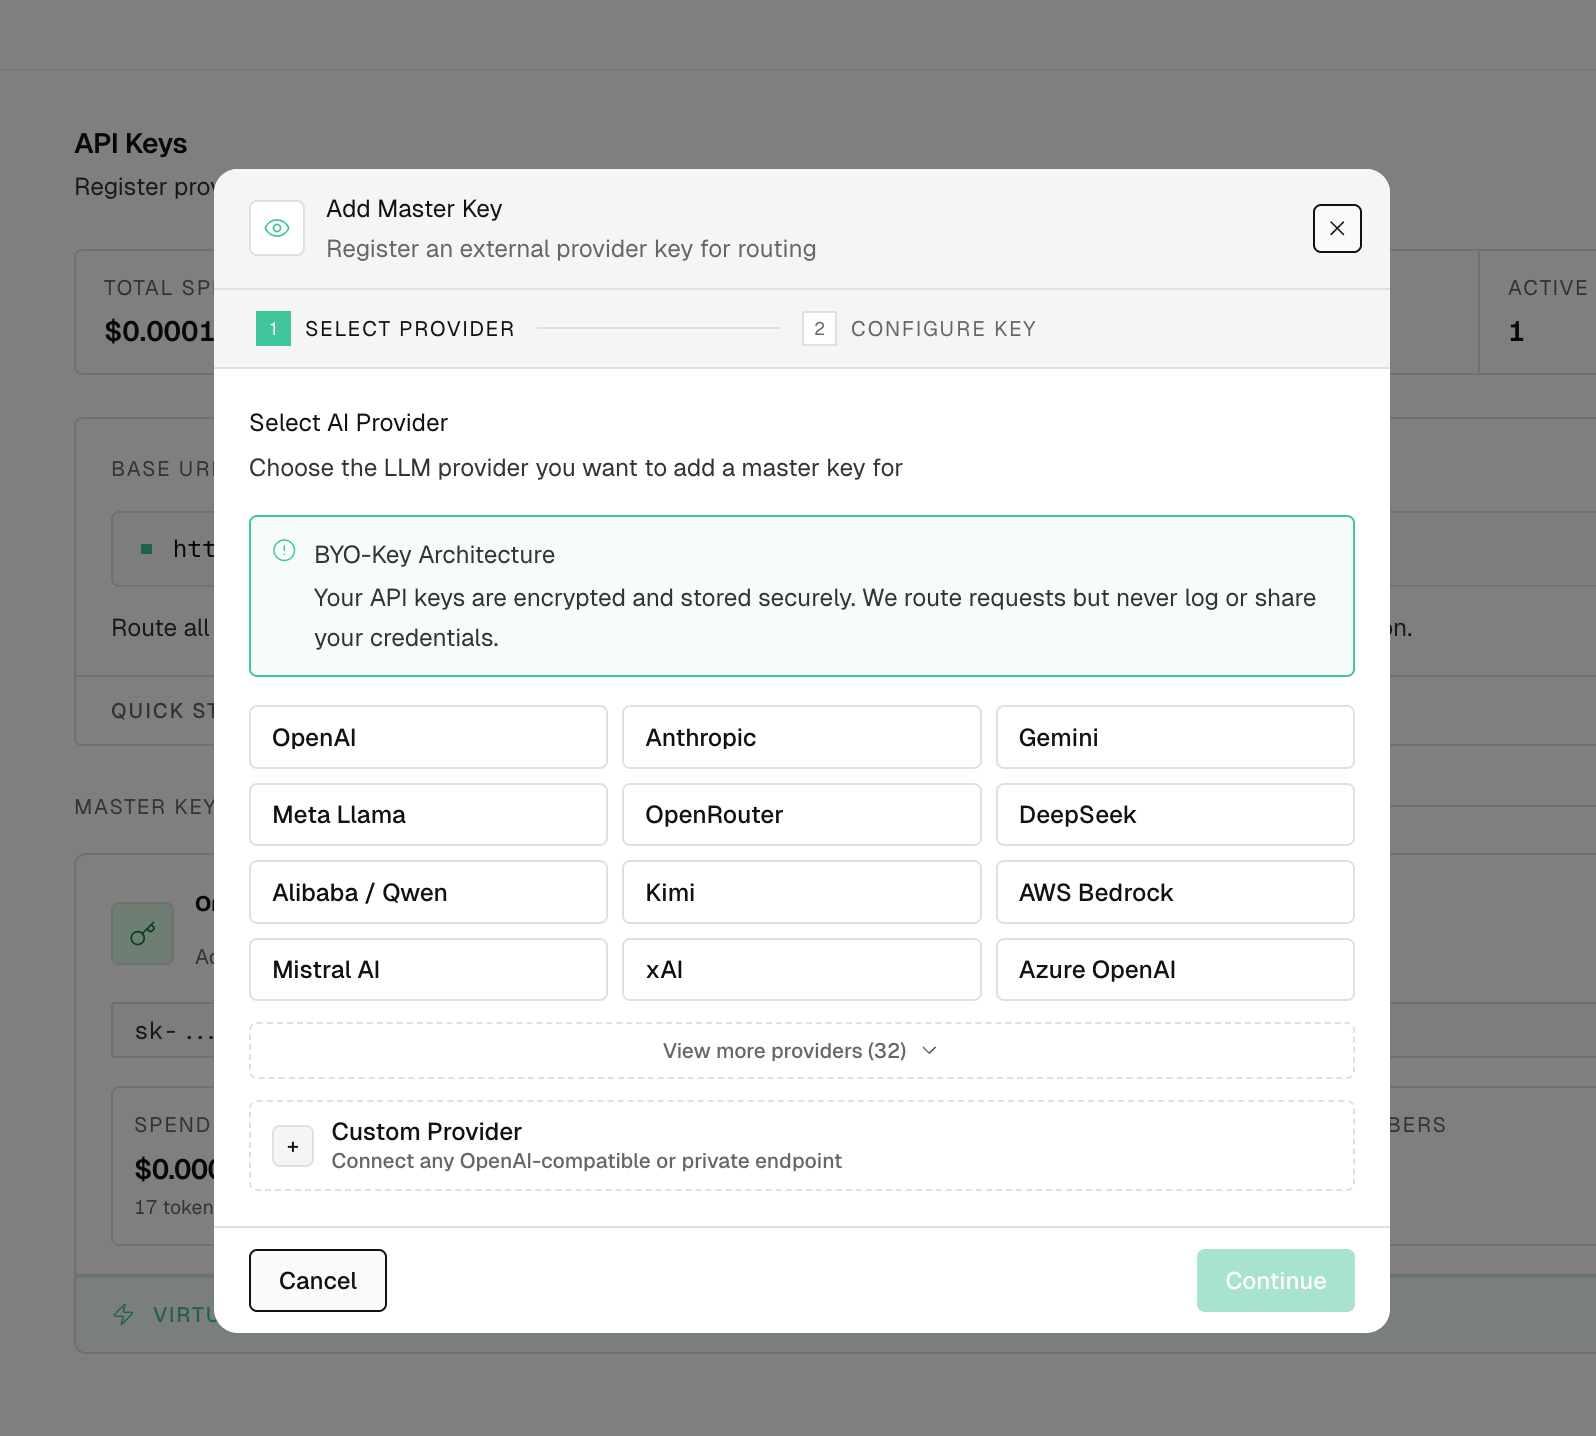
Choose your provider, continue to the key configuration step, then save the provider key. You can add keys for OpenAI, Anthropic, Gemini, OpenRouter, DeepSeek, AWS Bedrock, Azure OpenAI, or a custom OpenAI-compatible endpoint.
4. Create an Agent
Create an Agent for the application or workflow that will send AI traffic. The Agent generates a Virtual Key for client-side usage.
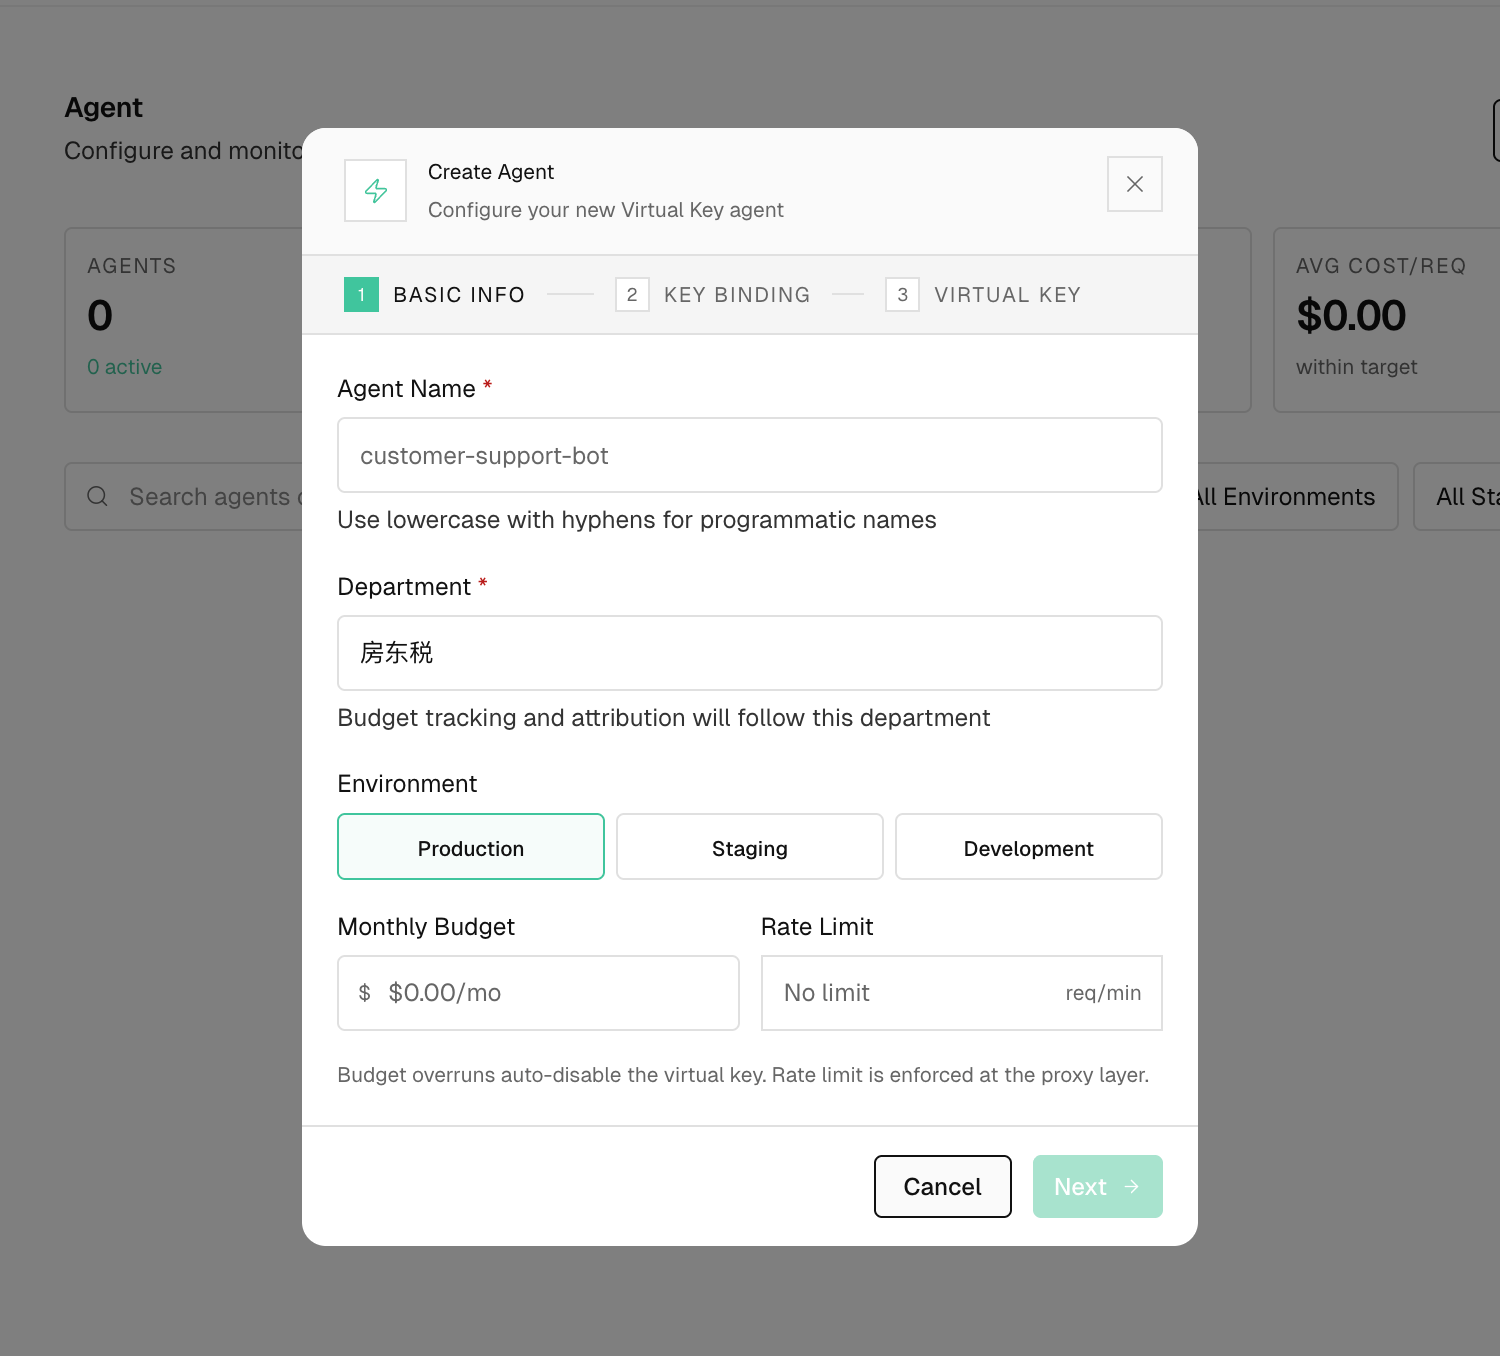
Bind the Agent to the department, choose the environment, set optional budget and rate-limit controls, then bind it to a Master Key. Copy the generated Virtual Key when the wizard completes.
5. Use the Virtual Key in Your App
After the Agent is created, use its Virtual Key directly in your application. The easiest path is to keep the OpenAI SDK, point it at Alephant, and send the Virtual Key in the Authorization header. Alephant then treats the call as agent traffic: it can route the model request, enforce policy, record cost, and attach the request to an Agent ID, Run ID, and session.
Alephant-Agent-Id identifies the Agent, Alephant-Run-Id identifies one task execution, and alephant-session-id groups related requests into one user or agent session. Alephant-Cache-Enabled enables cache behavior when supported by your workspace configuration.
6. Run Alephant MCP from the Command Line
Alephant MCP is distributed as @alephantai/mcp. Run it directly with the Agent’s Virtual Key:
Run a one-shot audit to verify the connection:
In Virtual Key mode, the audit prints the key scope and billing-cycle usage summary.
Next Steps
- Configuration & Modes: choose Virtual Key mode or Manager mode.
- Usage Guide: ask Alephant MCP for spend, budget, model, and workspace insights.
- Gateway Integration: send provider-compatible LLM traffic through Alephant.
- Agent IDs And Run IDs: attach agent, run, session, request, and trace identifiers.